Credit card integration syncs your credit card transactions into Beacon and sets money aside in a dedicated credit card bucket, so the cash to pay your statement is protected as you spend. It is a premium feature, and it works alongside your existing buckets and Free-to-Spend.
How credit card integration works
Once you connect a credit card, Beacon spots every new credit card transaction and sets money aside in a credit card bucket to cover your statement. If you already have a bucket for that merchant or category, Beacon pulls the money from there. If there is no matching bucket, it comes out of your Free-to-Spend.
So by the time the statement is due, the credit card bucket holds the cash to cover it. When you pay the card, Beacon brings that bucket back down, because the money it was holding has done its job.
This guide covers the spend side, which is how the bucket fills up. For what happens when you pay the card, including why the bucket can take a day or two to come down, see how credit card payments work.
Two examples show how that plays out.
Example 1: spend $20 at Amazon with your credit card
Starting balances:
- Free-to-Spend: $200
- Credit Card Bucket: $0.00
- Groceries Bucket: $40
What happens:
- The Amazon transaction shows up as “Spent from Free-to-Spend.”
- Beacon moves $20 from Free-to-Spend into the Credit Card Bucket.
New balances:
- Free-to-Spend: $180 (-$20)
- Credit Card Bucket: $20 (+$20)
- Groceries Bucket: $40
There was no bucket that matched this purchase, so the money came out of Free-to-Spend.
Example 2: spend $40 at Kroger with your credit card
This continues from where Example 1 left off.
What happens:
- The Kroger transaction shows up as “Spent from Groceries,” because a matching bucket exists.
- Beacon moves $40 from the Groceries Bucket into the Credit Card Bucket.
New balances:
- Free-to-Spend: $180 (no change)
- Credit Card Bucket: $60 (+$40)
- Groceries Bucket: $0 (-$40)
This time a bucket matched, so the money came from that bucket instead of Free-to-Spend.
The short version
For most people the setup is this.
- Connect your card on the Accounts page.
- Create a credit card bucket for it.
- Turn on both Free-to-Spend integration and bucket integration.
- Link the card to its matching bucket.
After that, Beacon funds each purchase on its own. The rest of this guide walks through each step and covers paying down an existing balance.
Connect your credit card
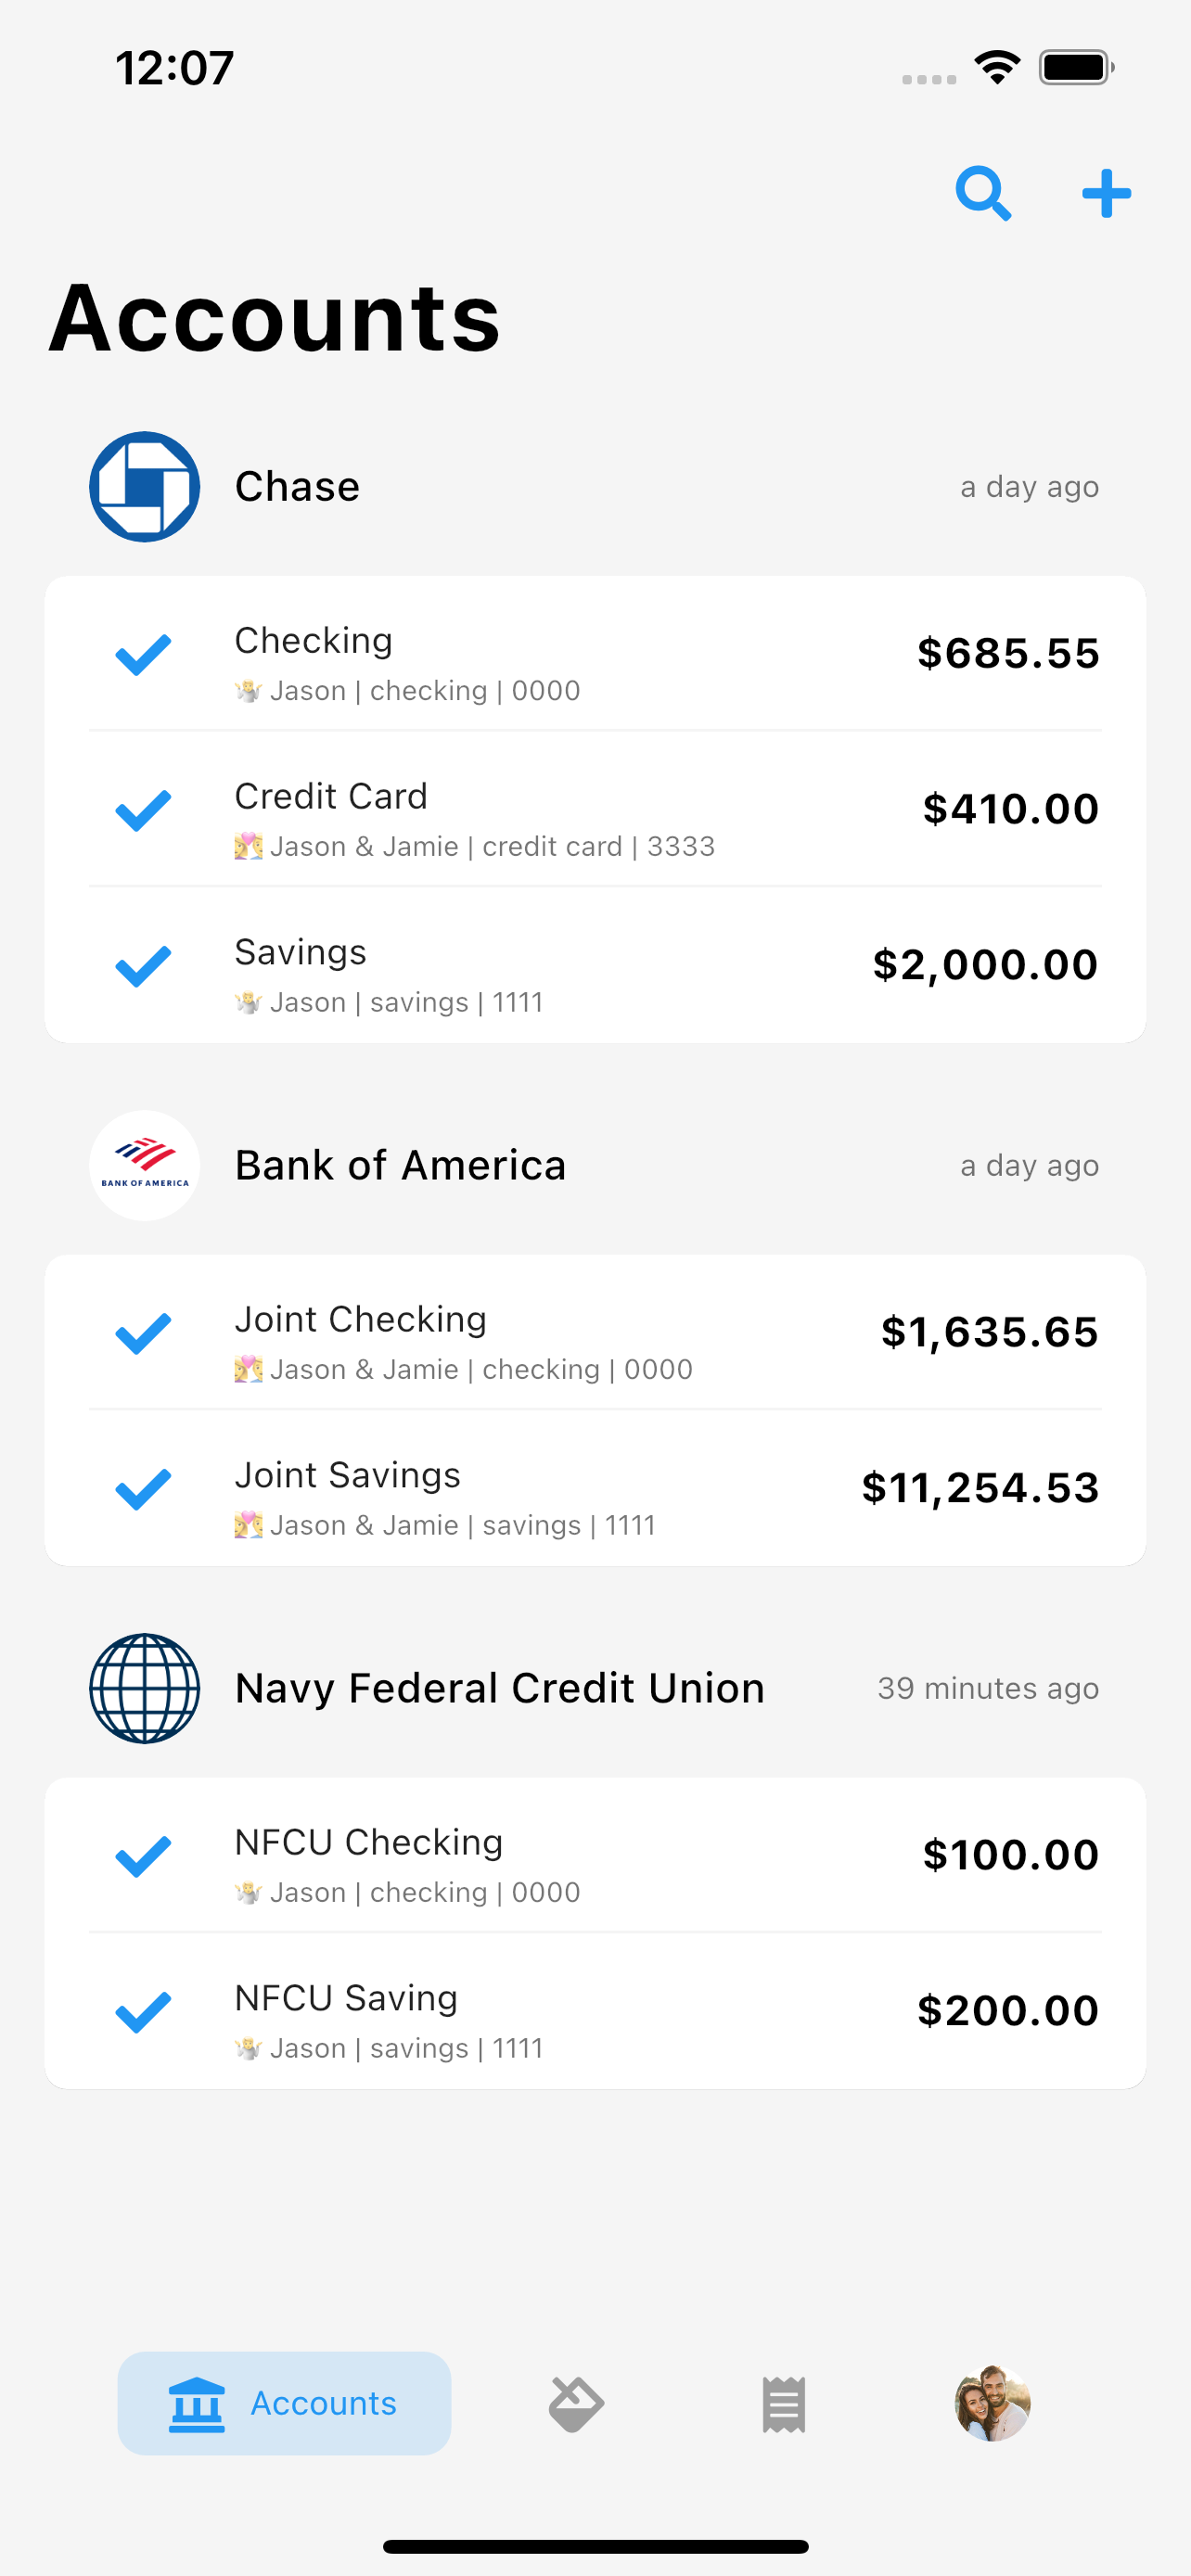
You connect a credit card on the Accounts page, the same way you connect any other institution. Tap the Add (+) button in the top right corner, choose your banking institution, or use the search at the bottom if you do not see it listed.
For more on connecting accounts, see Getting started with Beacon Budget.
Once connected, you will see your credit card balance on the Accounts page and all your transactions on the Activity page.
Create a credit card bucket
Just like your other expenses, Beacon uses a credit card bucket to set aside funds for your payment at the end of the month. A credit card bucket is an ordinary expense bucket that happens to be linked to a card, so anywhere you see “expense” in the steps below, that is the same object.
We recommend creating a Credit Card expense group (you can do this later) and then a separate Credit Card expense for each card, so your cards stay organized apart from your other buckets.
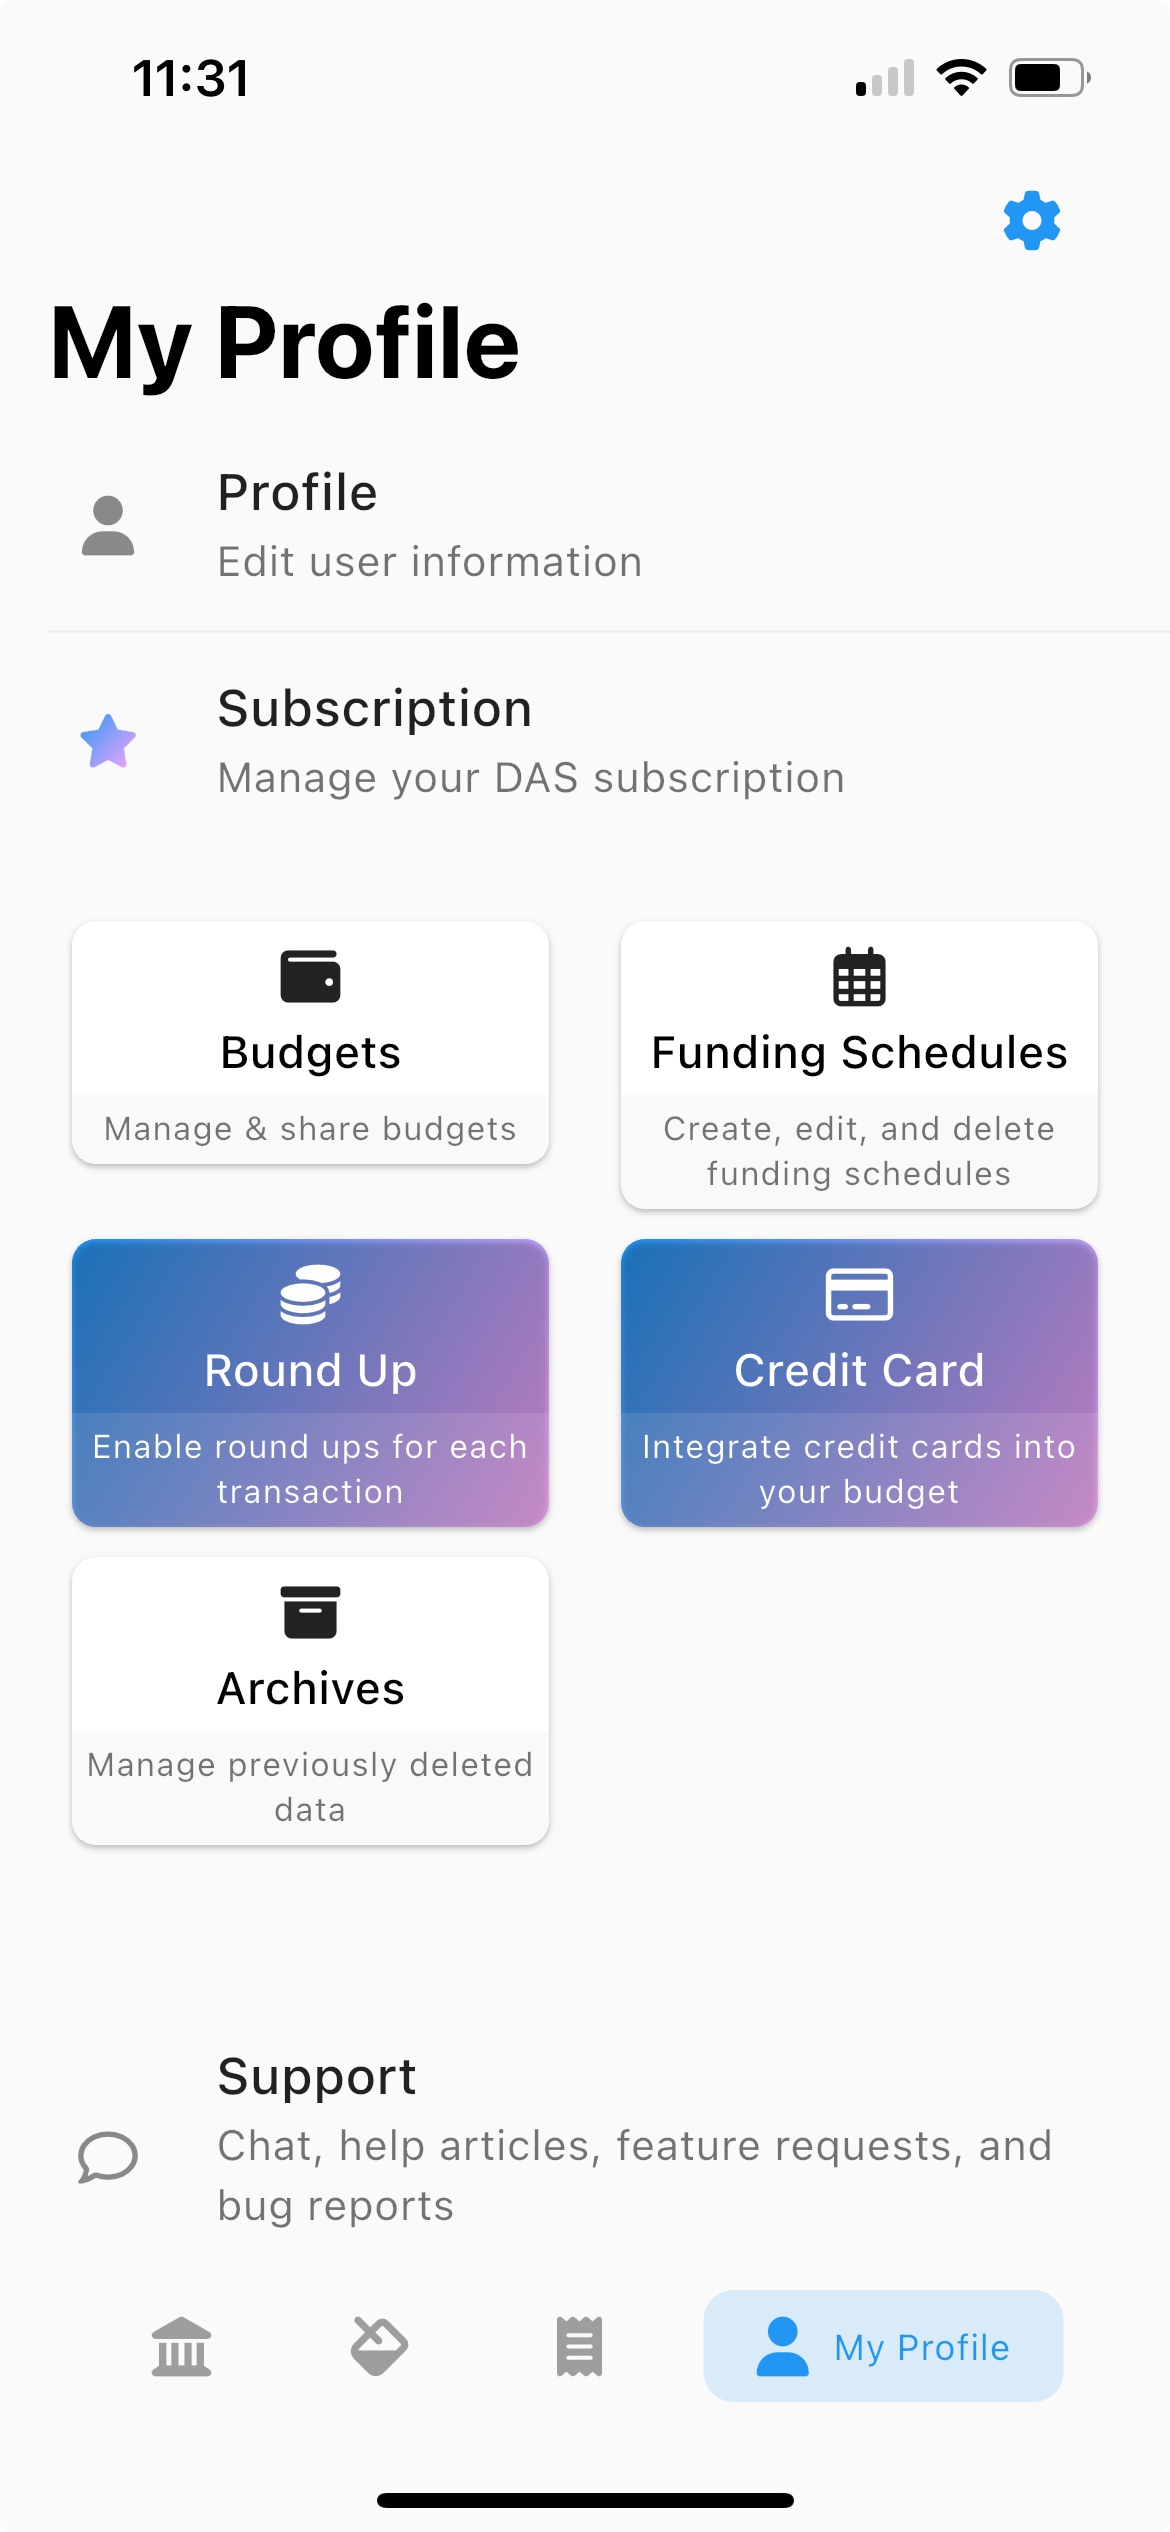
To create the bucket, go to My Profile and select the Credit Card widget.
In the top right corner, select the ellipsis and choose Create default expense. Beacon creates a credit card bucket for you. You can repeat this for each card you have linked. Remember to rename each bucket so it matches the right card.
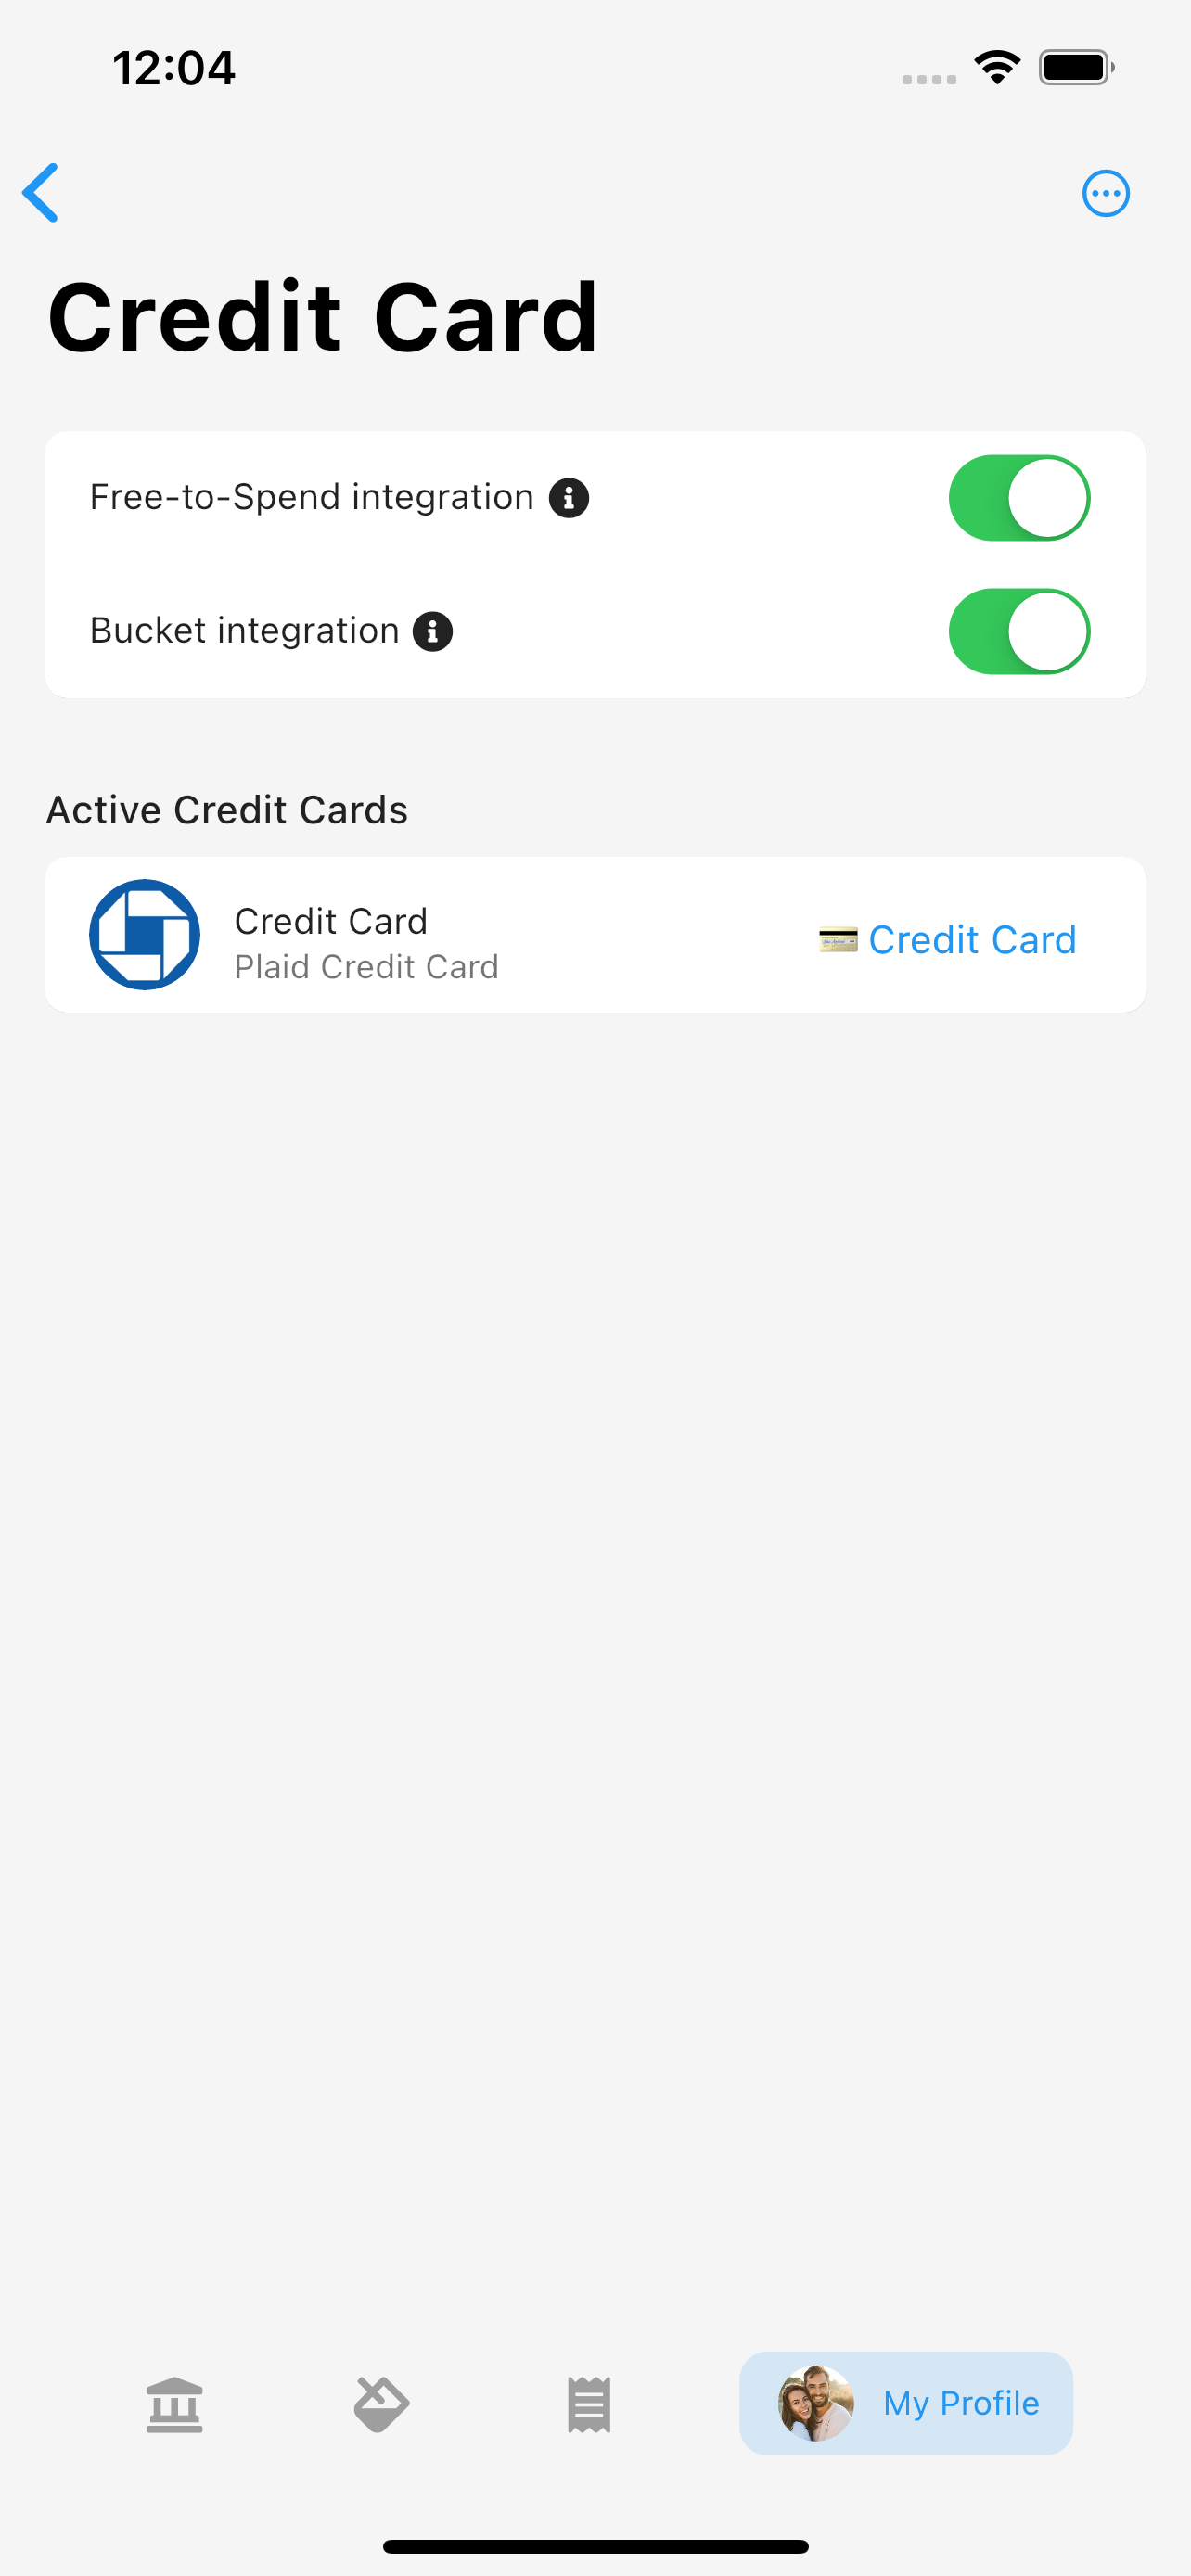
When you first connect a card, this credit card bucket is empty. Over the course of the month, Beacon transfers funds into it from either your Free-to-Spend or your other buckets, depending on each transaction. By the time your statement is due, there is enough in the credit card bucket to cover every expense from the point you started the integration.
One thing to know: for expenses that happened before you set this up, nothing was set aside yet. To catch up, you can move money from your Free-to-Spend into the credit card bucket. Some of those earlier expenses may already be covered by other buckets, so be careful not to double count.
Turn on credit card integration
Now that your card is linked and the credit card bucket exists, you can turn on the integration so funds move automatically.
There are generally two ways people set this up. You can either:
- Aim to pay off the full statement balance each month.
- Pay off more than the statement balance, which helps when you are paying down debt.
The setup is the same for both, with one extra step if you want to pay down additional debt.
These two settings answer one question. When you buy something on the card, where does Beacon take the money from to set aside for the bill.
Inside the credit card widget you will see two options, integrate with your Free-to-Spend and integrate with your buckets.
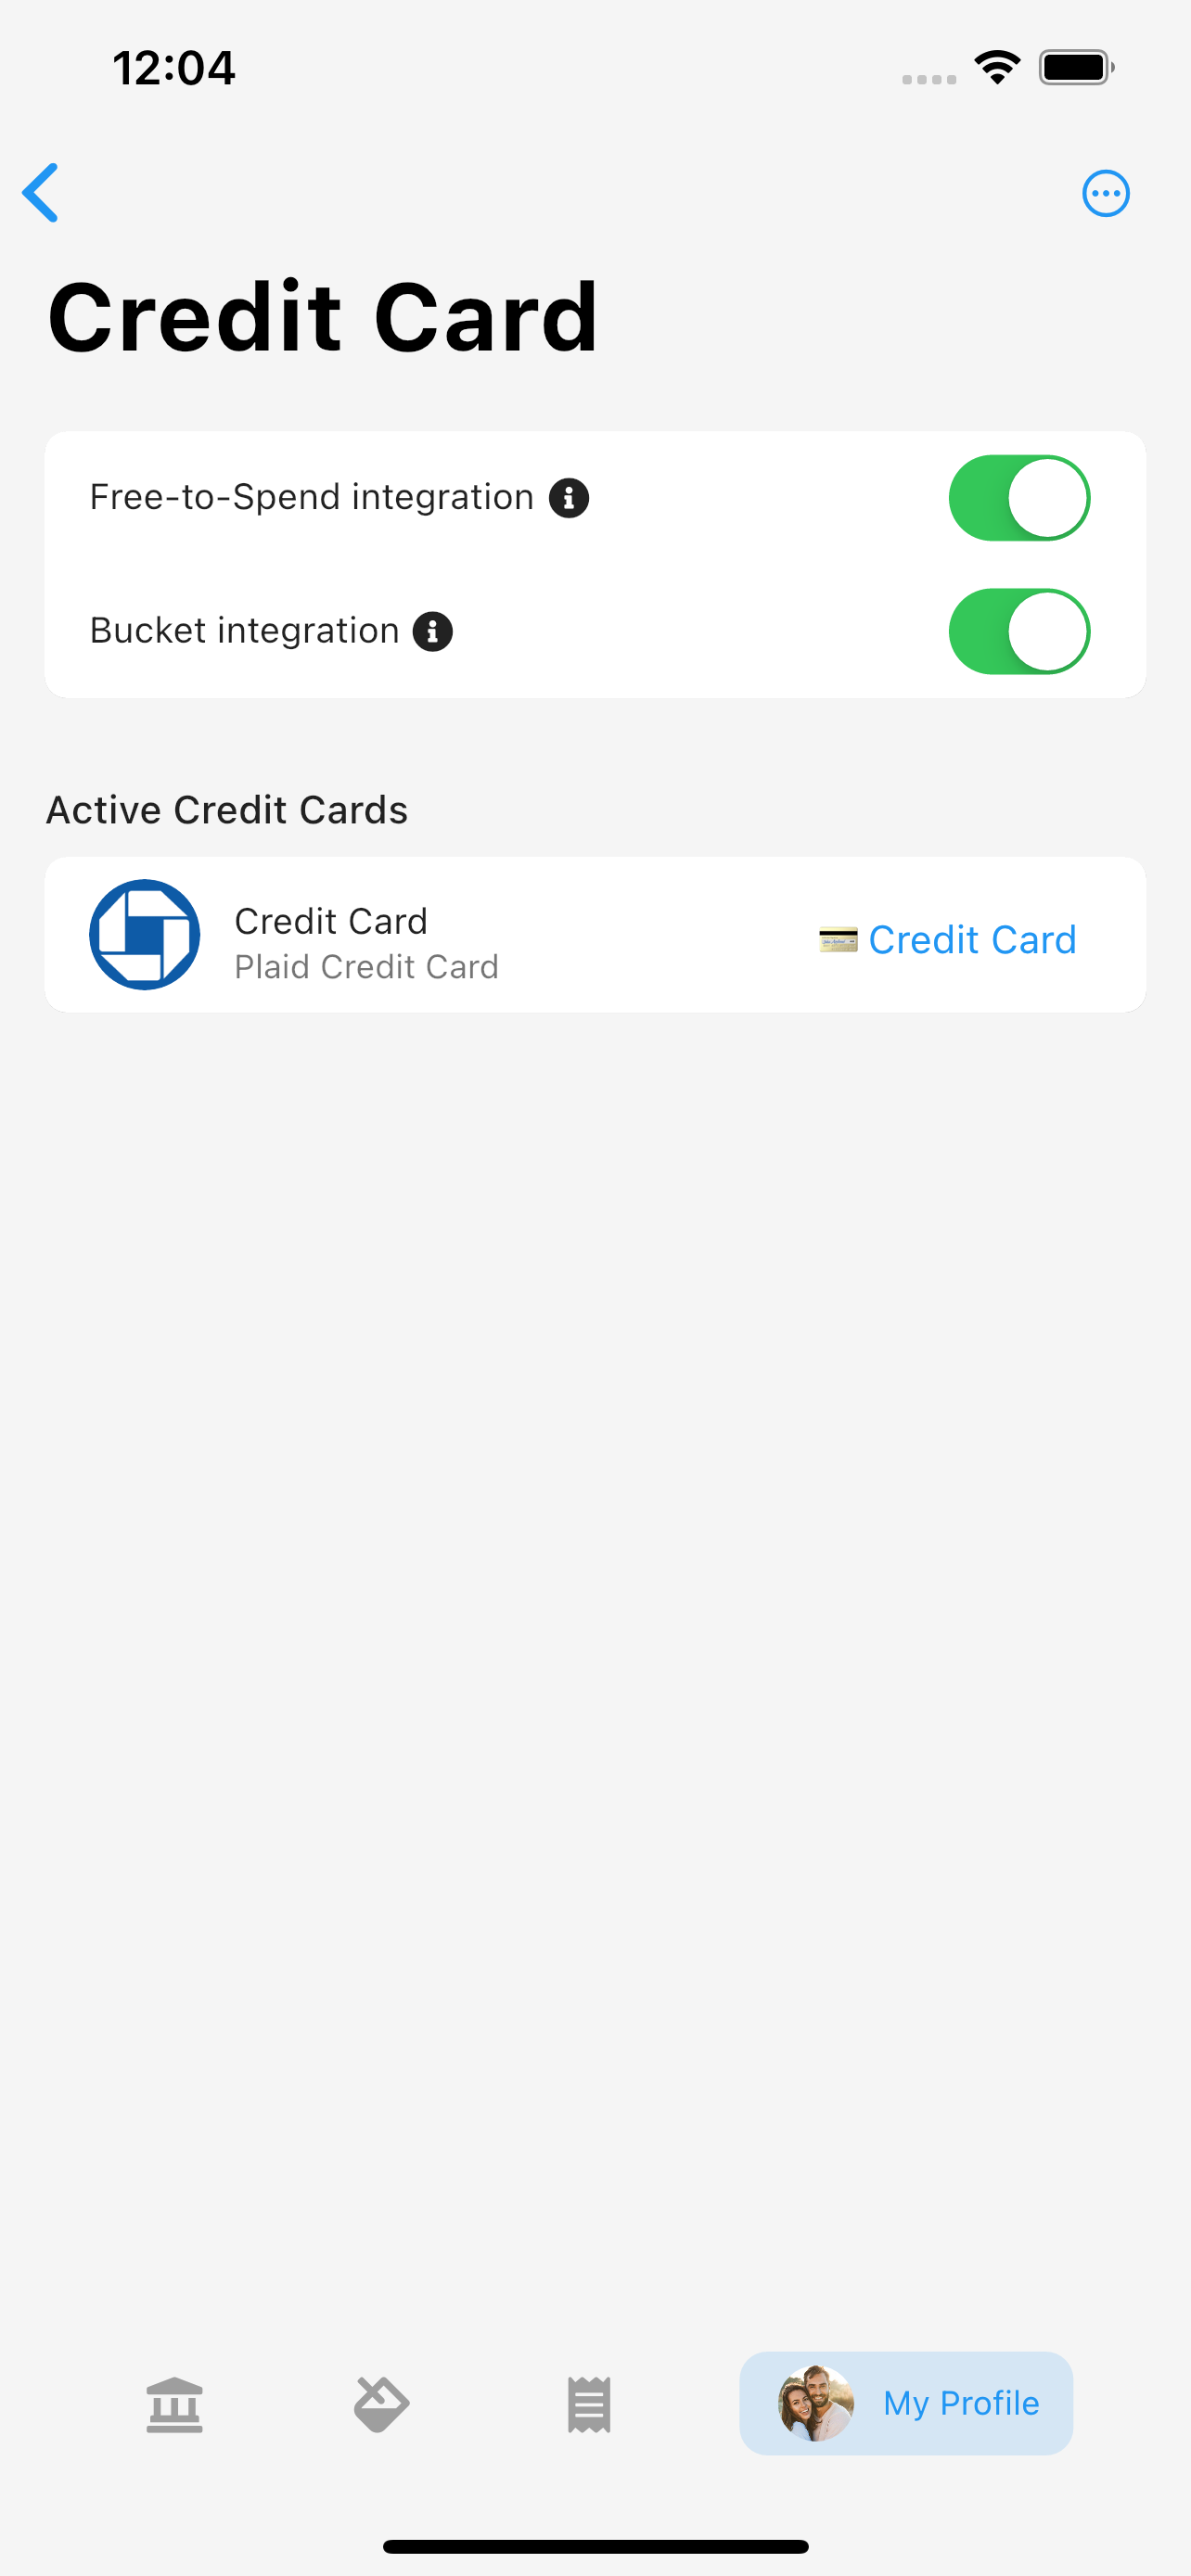
- Free-to-Spend integration: credit card transactions transfer money from Free-to-Spend to your dedicated credit card bucket to cover the bill.
- Bucket integration: credit card transactions are auto-spent by matched expense buckets, and that money transfers to your credit card bucket to cover the bill.
We recommend turning both on for the easiest, most complete setup. Bucket integration moves money to the credit card bucket automatically based on the category Beacon matches, so if you want more control you can leave it off. With it off, every credit card transaction is funded by Free-to-Spend until you move it from the correct bucket yourself.
Once the integrations are on, connect each active card to its associated credit card bucket. Tap the card and choose the matching credit card bucket.
With that done, all future credit card transactions flow to your credit card bucket, setting aside money for the statement due date.
How to pay more than the statement balance each month
Beacon’s credit card integration handles this too.
When you first created the credit card bucket, you did not attach it to a funding schedule. That is because the integration already moves over the funds needed for future expenses from your Free-to-Spend or your buckets.
What it does not do is cover past expenses. To add funds for those, you can top up the credit card bucket manually or automatically.
To add funds manually, go to the bucket, select the Move Money button (two arrows in the top right), and transfer however much you want from your Free-to-Spend or other buckets.
To do it automatically, decide how much of the balance you want to pay down, then connect the bucket to a funding schedule.
Balances
- Current: leave this as is.
- Target: the additional amount you want to pay down each month, on top of the statement. If you want to pay down $250 extra each month, put $250.
This one catches people out, so it is worth being concrete. Say your statement comes to $800 and you want to put another $250 against the balance. Credit card integration has already set aside the $800 as you spent, so the Target here is $250, not $1,050. Put the total in and Beacon funds the statement twice over.
Schedule
- Due Date: when the expense is due. Choose your statement due date, or a few days before. We recommend repeating this every month on the same date.
- Funding: link it to the funding schedule these funds should come from.
- Spending: we recommend the Merchant option, which is your credit card institution (for example “Capital One - Mobile Pmt”). You can also use the Credit Card Payment category, though with multiple cards linked that can get confusing.
Options
- Partial Spending: leave on.
- Contribution: select Fixed Contributions. This is required for the automatic funding to work. It means the contribution stays consistent and always adds your target amount each month, no matter what is in the Current balance.
- Status: leave active.
- Bucket Type: leave as an expense.
On your next funding schedule, you will see funds moved into your credit card bucket to help make these extra payments.
Frequently asked questions
What if I do not have enough in a bucket, or in Free-to-Spend?
The money still gets set aside. A credit card purchase is a real bill whether or not the budget had room for it, so Beacon never sets aside less than the purchase.
If the matching bucket cannot cover it, Beacon takes what the bucket has and the rest comes from Free-to-Spend, and it marks the transaction so you can see which bucket fell short. If Free-to-Spend is the source and it is already low, the money still moves and Free-to-Spend goes lower, including below zero. That is not an error. Free-to-Spend going negative is Beacon telling you the spending has already happened and the money has to come from somewhere.
What this means in practice is that your credit card bucket can be trusted to cover the statement. The number to watch is Free-to-Spend.
Why doesn’t my credit card bucket match my statement balance?
A couple of reasons:
- A payment may still be on hold. Beacon waits for the withdrawal to leave your checking account before it brings the bucket down, so for a day or two after you pay, the bucket still holds money for a bill you have already paid. How credit card payments work explains the wait.
- If you set up additional funding, that adds your target payment on top of the statement amount, so the credit card bucket runs higher than the statement.
- Refunds move money back automatically. Say you spend $25 at Amazon with your card, then return the item. Beacon moves the initial $25 out of Free-to-Spend (or a bucket) into the credit card bucket. When the $25 refund posts and Beacon can match it to that original purchase, it reverses the move: the source bucket (or Free-to-Spend, if that is where the money came from) goes back up by $25, and the credit card bucket goes down by the same amount. No manual adjustment needed for the common case. In rare cases where Beacon cannot match the refund, for example two identical purchases at the same merchant and amount, or a partial refund, you can move the money back yourself.