Setting up Beacon Budget takes a few minutes. You connect your bank accounts, tell Beacon how often you get paid, then create expenses and goals so it knows what your money is already promised to. This guide walks through the whole thing in order.
If you want the vocabulary first (buckets, Free-to-Spend, and how they fit together), read the overview and core concepts guide. Otherwise, start at the top or jump to the section you need.
Connect your accounts
The first thing to do after you log in is connect your banking institutions. Beacon links to your bank securely through two data providers, Plaid and MX.
You can connect your first banking institution without starting a trial, so you can explore Beacon with your own data. Think of it as a preview. Beacon pulls in just a few days of recent transactions and doesn’t keep refreshing them. You can create a bucket to try things out, and any buckets you set up during onboarding stick around. You can also look around your Home screen and insights.
Connecting a second institution, keeping your transactions up to date, and building out a full budget come with your free trial. Beacon has two plans: Essentials, which connects up to 3 institutions, and Premium, which connects up to 10. Pick the one that fits and follow the prompts to subscribe. The trial runs 30 days, so you won’t be charged until the end of your first month.
How billing works: a banking institution is any bank or lender where you hold a checking account, savings account, or credit card. What counts toward your plan is the number of institutions, not the number of accounts. A savings and a checking account both at Bank of America count as one institution. A Bank of America checking account plus a Capital One credit card count as two. Essentials connects up to 3 institutions, and Premium up to 10.
Add an account
The Accounts page is where you add new accounts and refresh existing connections. It also shows your current balances, when Beacon last received data, and the status of any institution.
To start, tap the Add (+) button in the top right corner.
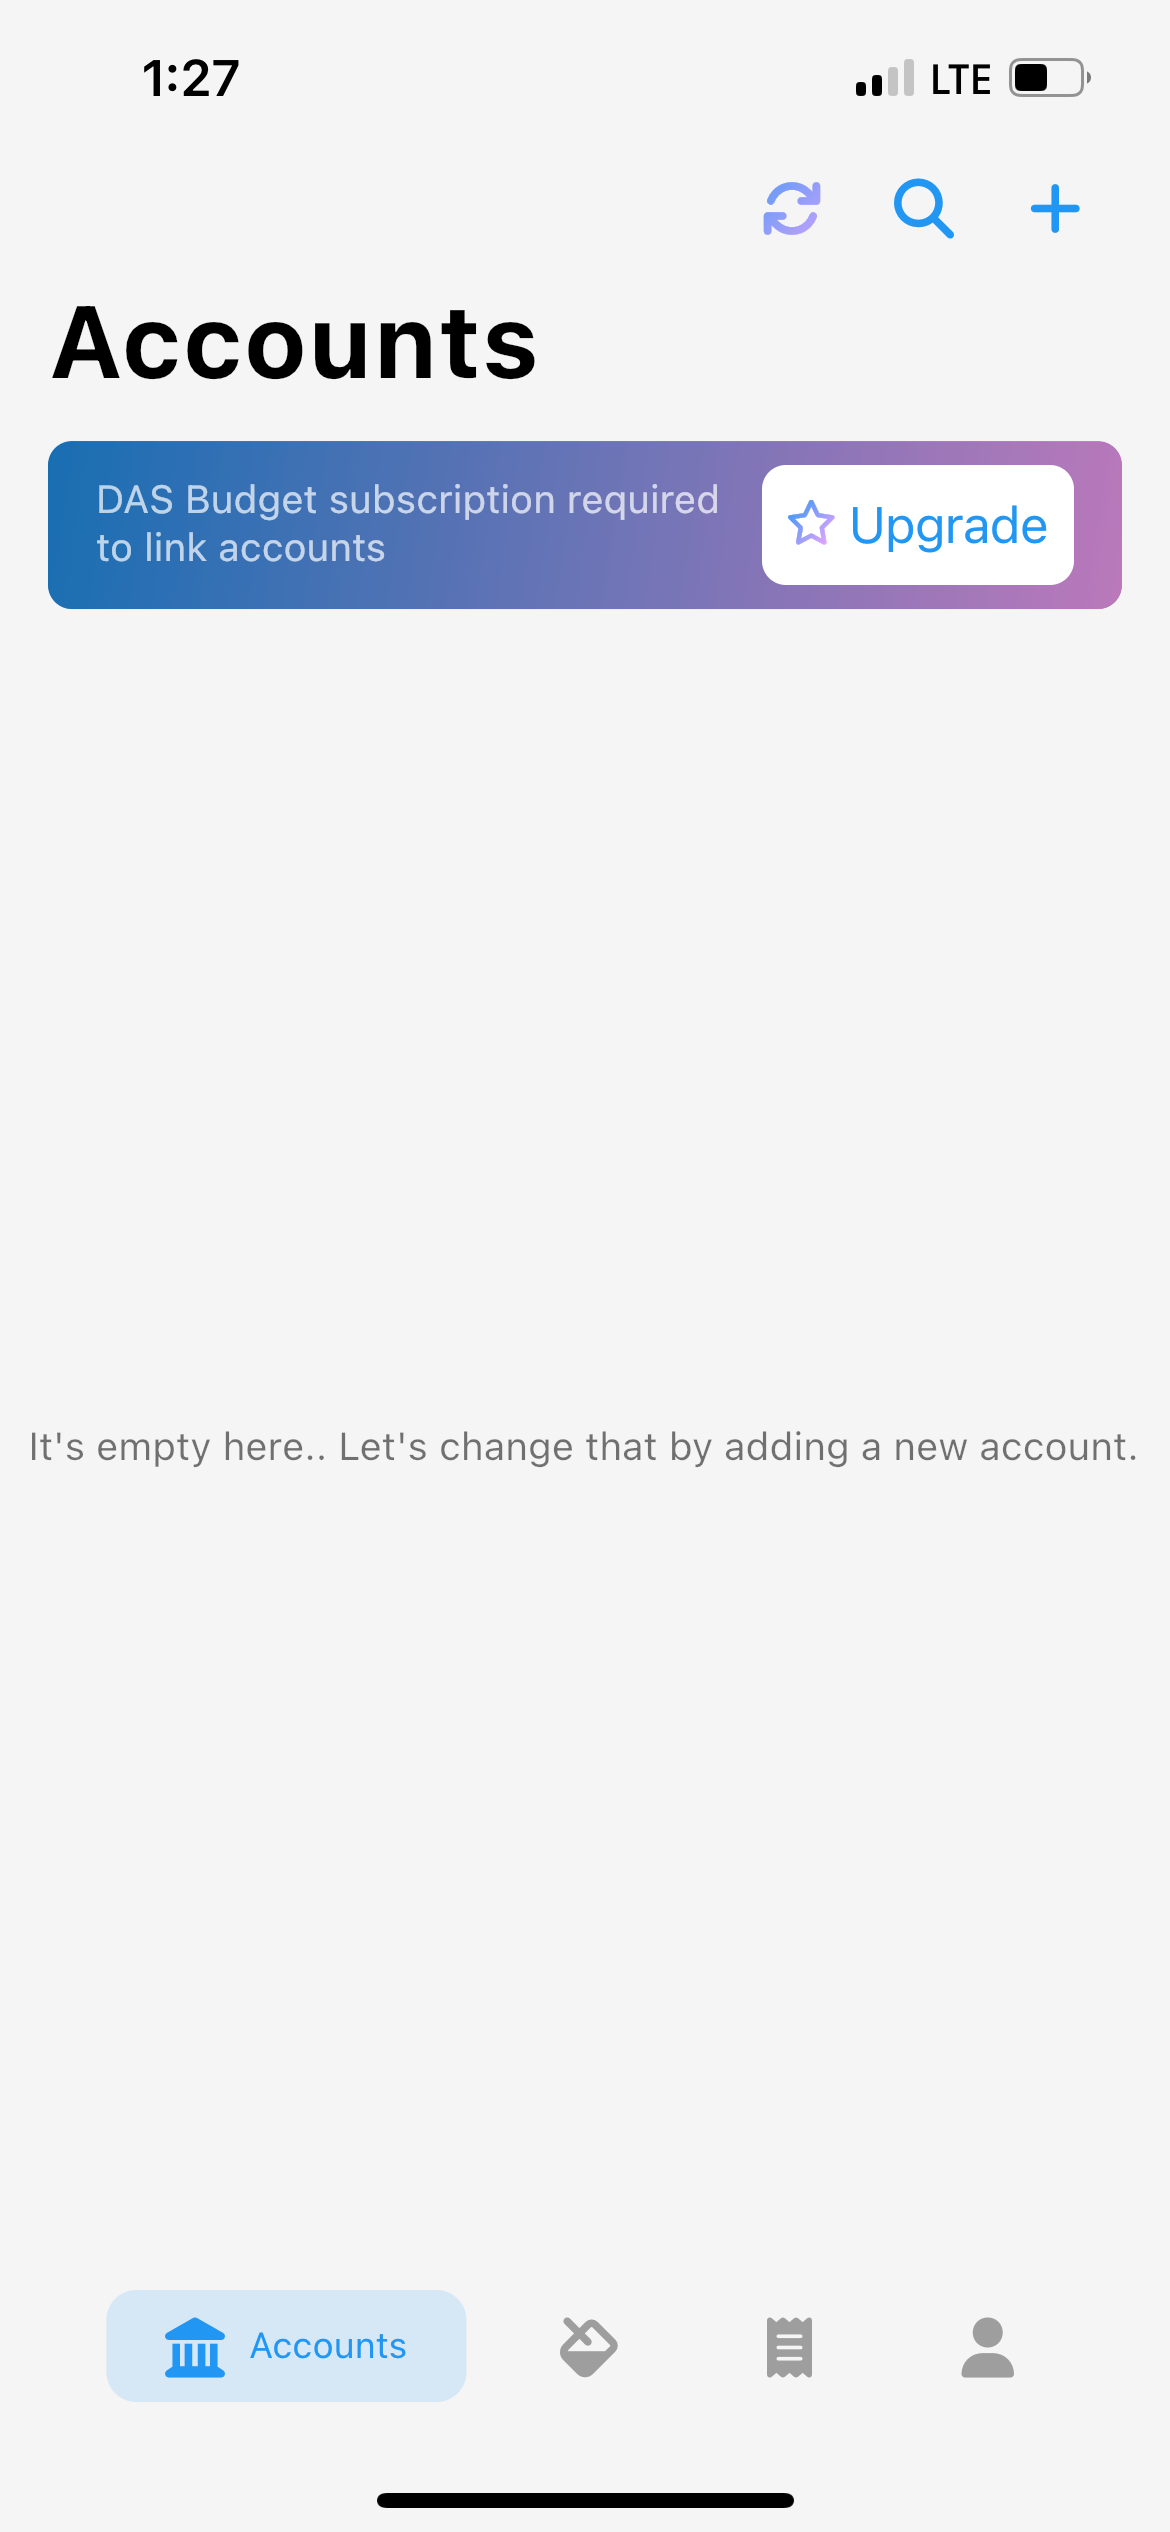
Pick your bank from the list, or use the search box at the bottom to find it.
Choose a data provider
Beacon’s search already routes you to the provider that has historically worked best for your bank, so most people never think about this. But if a connection is giving you trouble and you want to try the other provider, long-press the Add (+) button. A small popup asks whether to connect via MX or Plaid. Choose one and follow the steps.
Delete or archive an account
When you no longer need a connection, you can delete it or archive it. There’s an important difference:
- Archive stops future updates but keeps your transaction history in the app.
- Delete removes the institution along with all of its transactions and balance history.
Deleting is permanent. That history can’t be recovered, so archive if you think you might want it later.
Refresh accounts
Missing a few transactions, or an account hasn’t synced in a while? Go to the Accounts page and tap the institution to see when its data last came in.
This screen shows two timestamps: the last time Beacon received data from the provider (Last Plaid/MX Sync), and the last time the provider heard from your bank. To pull the latest transactions, run a Force Refresh. That opens a fresh connection to your bank and requests updated data.
The same screen flags any connection trouble between the provider and your bank, shown as the Txn status.
One more thing lives here. If you open a new account at a bank you’ve already linked, say a new savings account, tap Update to refresh the connection and add it.
Once your accounts are connected, your transactions appear on the Activity tab and you’re ready to build your budget.
You don’t have to build it all by hand. After a bank is connected, Beacon can read your transaction history, detect your income and recurring bills, and suggest buckets to create. Everything it suggests is based on what’s actually in your history, not guesswork, and nothing changes until you tap Apply. See Budget Checkup for the walkthrough.
Create a funding schedule
A funding schedule tells Beacon how often to move money into your buckets. It’s usually tied to your paycheck, but it can be anything: weekly, daily, or the 15th and last day of the month.
Open the side panel and select Funding Schedules, then tap the Add (+) button. (On web, Funding Schedules lives in the top-level navigation.) When you set one up, you’ll define:
- Name. Whatever helps you recognize it later.
- Frequency. Pick the day the schedule starts, which has to be a future date, then choose how often it repeats. If you’re paid every other Friday, choose your next payday and set it to repeat every other Friday.
- Funding source. Where the money comes from. The default is Free-to-Spend. For more advanced setups you can fund a schedule from another bucket instead.
- Status. Active or Paused.
When it’s done, it looks like this:
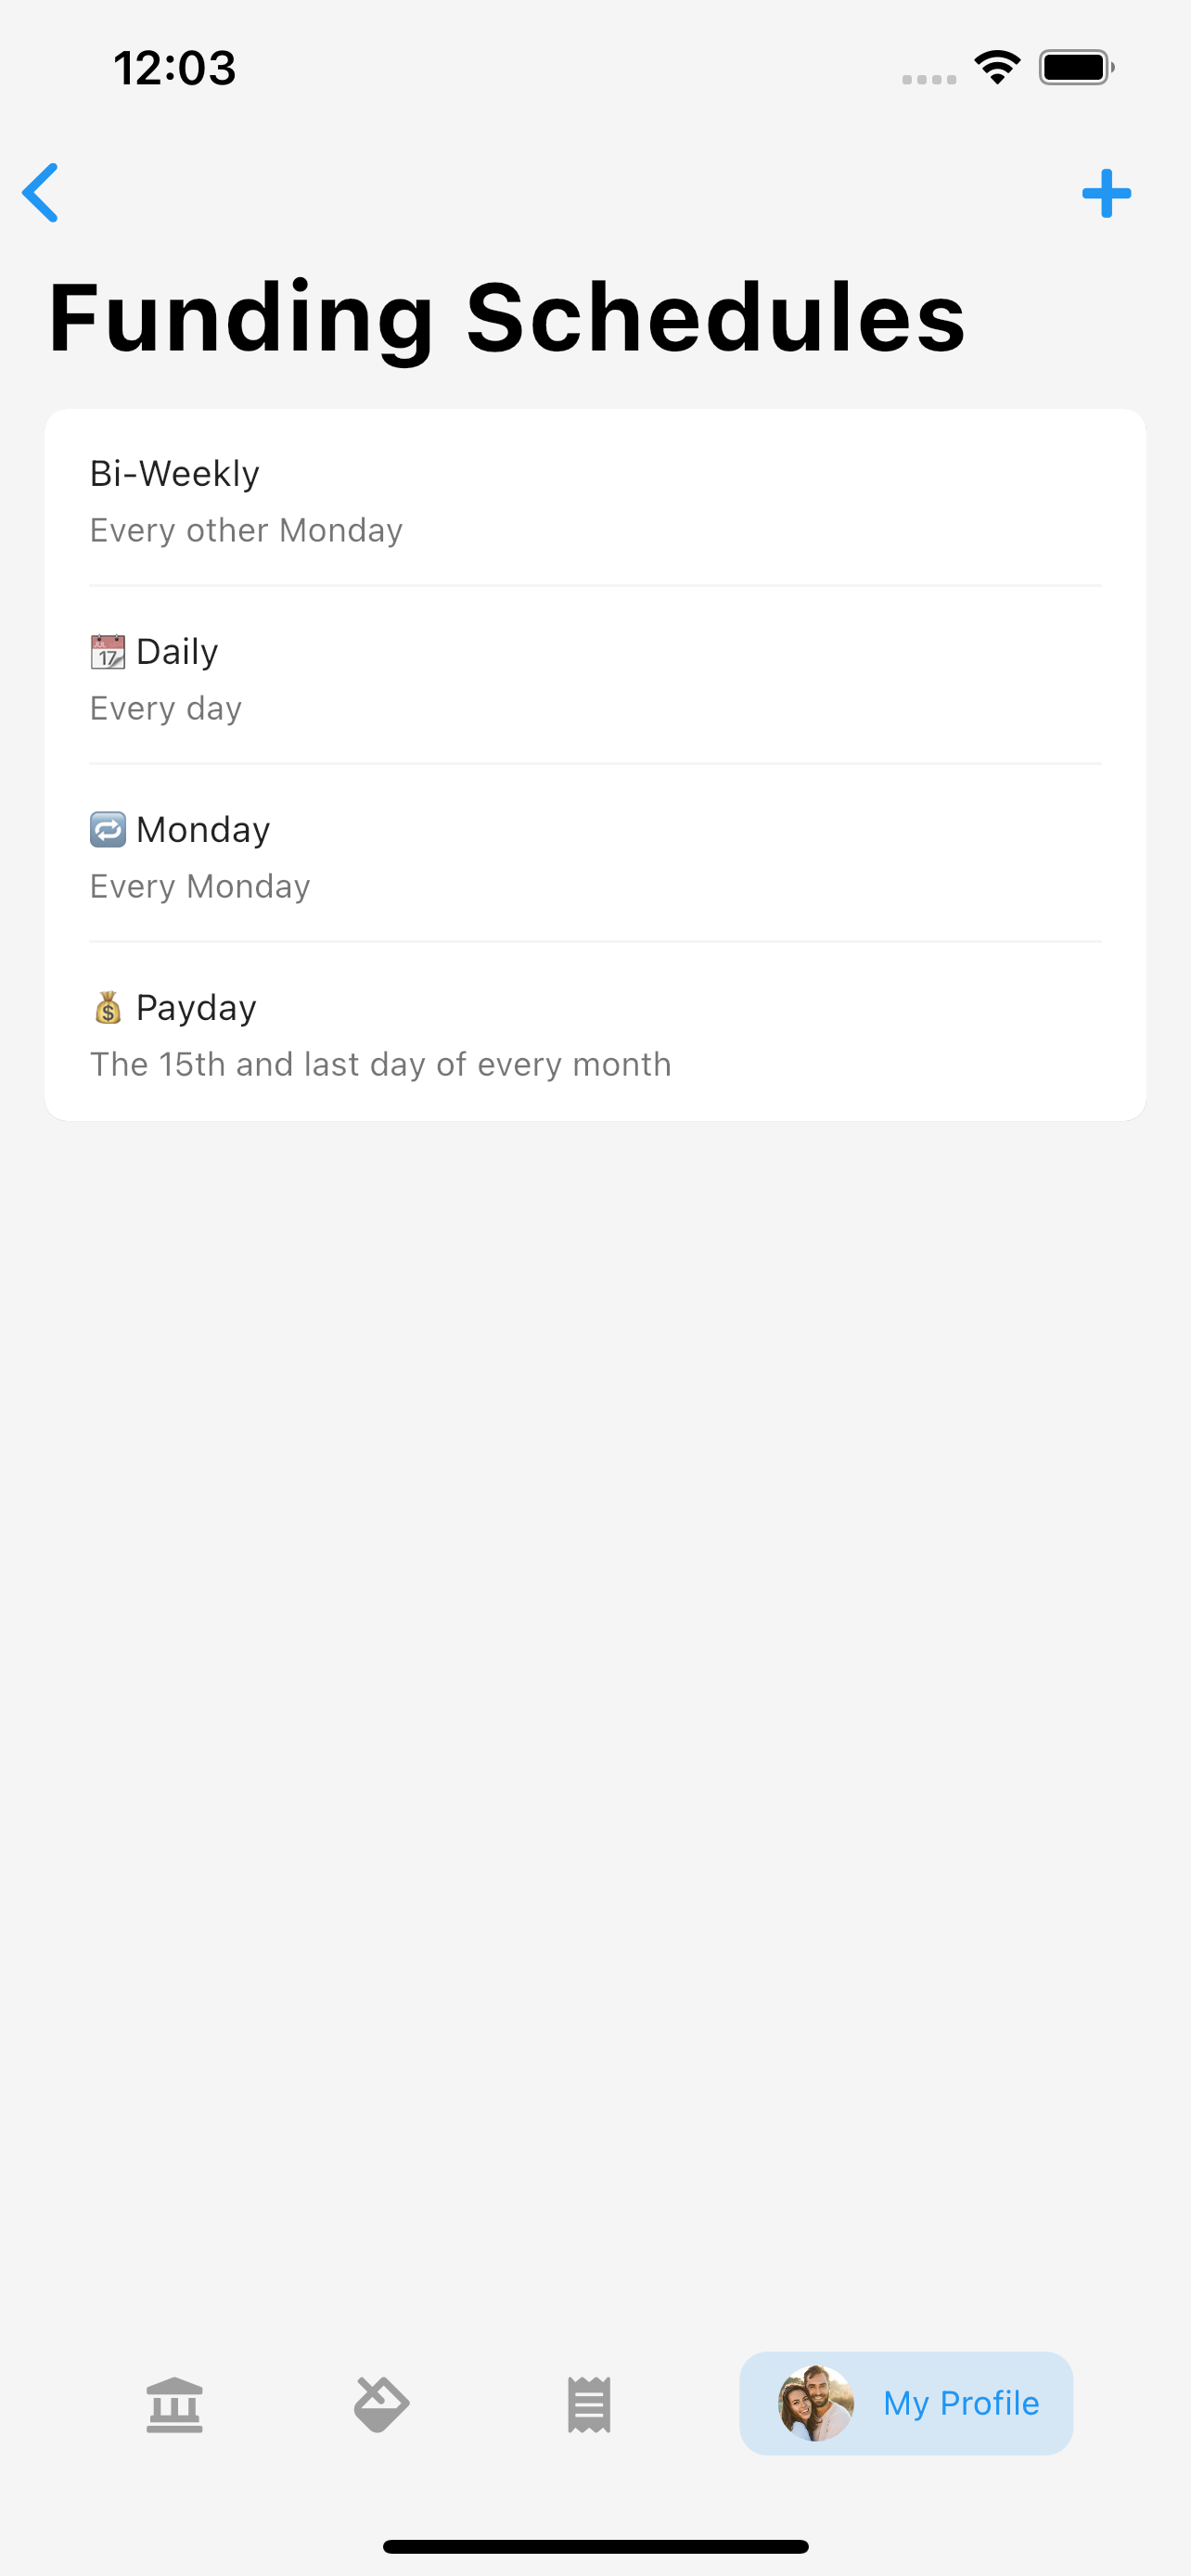
With a schedule in place, you can attach expenses to it.
Create an expense group
Expense groups organize your buckets. They’re fully customizable, but common ones are:
- Housing
- Bills & Utilities
- Groceries
- Transportation
- Loan payments
- Entertainment
- Education
To create one, go to the Buckets tab. Tap where indicated, or long-press the Add (+) button. Enter a name, pick a color, and choose an emoji. To set the emoji, tap the box and type the one you want.
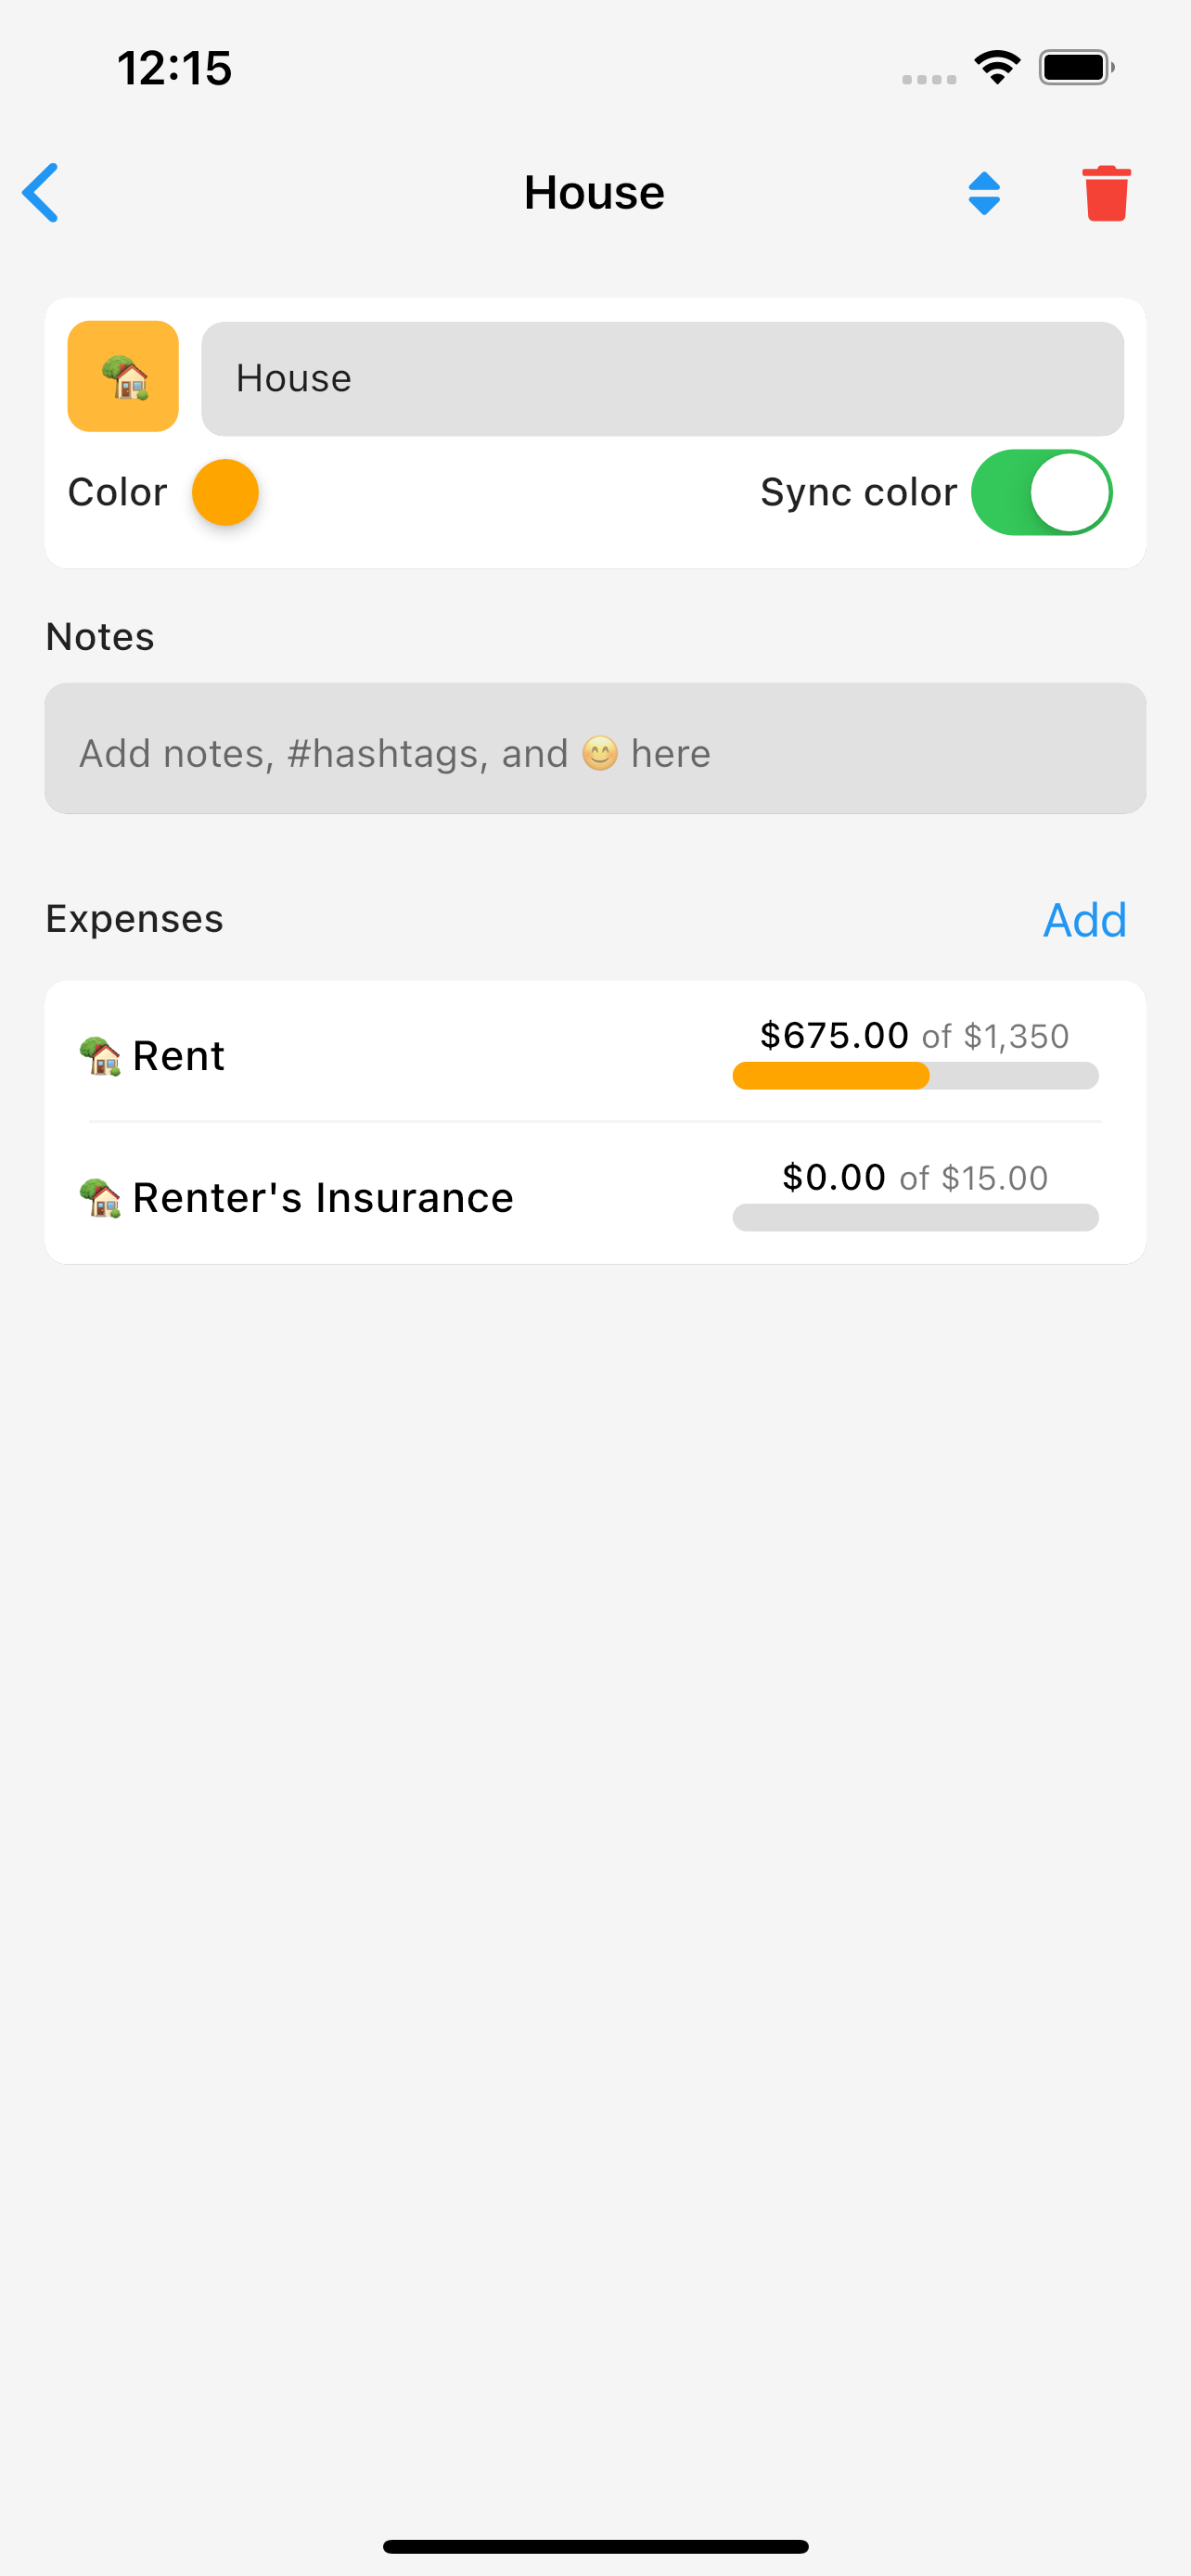
Create an expense
With a group in place, add expenses to it using the Add button.
Expenses are usually your fixed bills: rent, Netflix 📺, groceries, electricity. You create one expense per bill, set the target amount (the bill total) and the due date, then attach a funding schedule. From there Beacon moves money into that bucket every time the schedule runs. For $1,200 rent due on the 1st and a paycheck every other Friday, that means a portion of the rent lands in the bucket each payday, so the full amount is there before the bill hits.
Reviewing recent transactions is a handy way to spot expenses you’ve missed. You can even create a group and an expense straight from a transaction.
From your Activity, tap the transaction you want to build an expense from. On the screen that opens, tap the ellipsis in the top right corner and choose Create Expense.
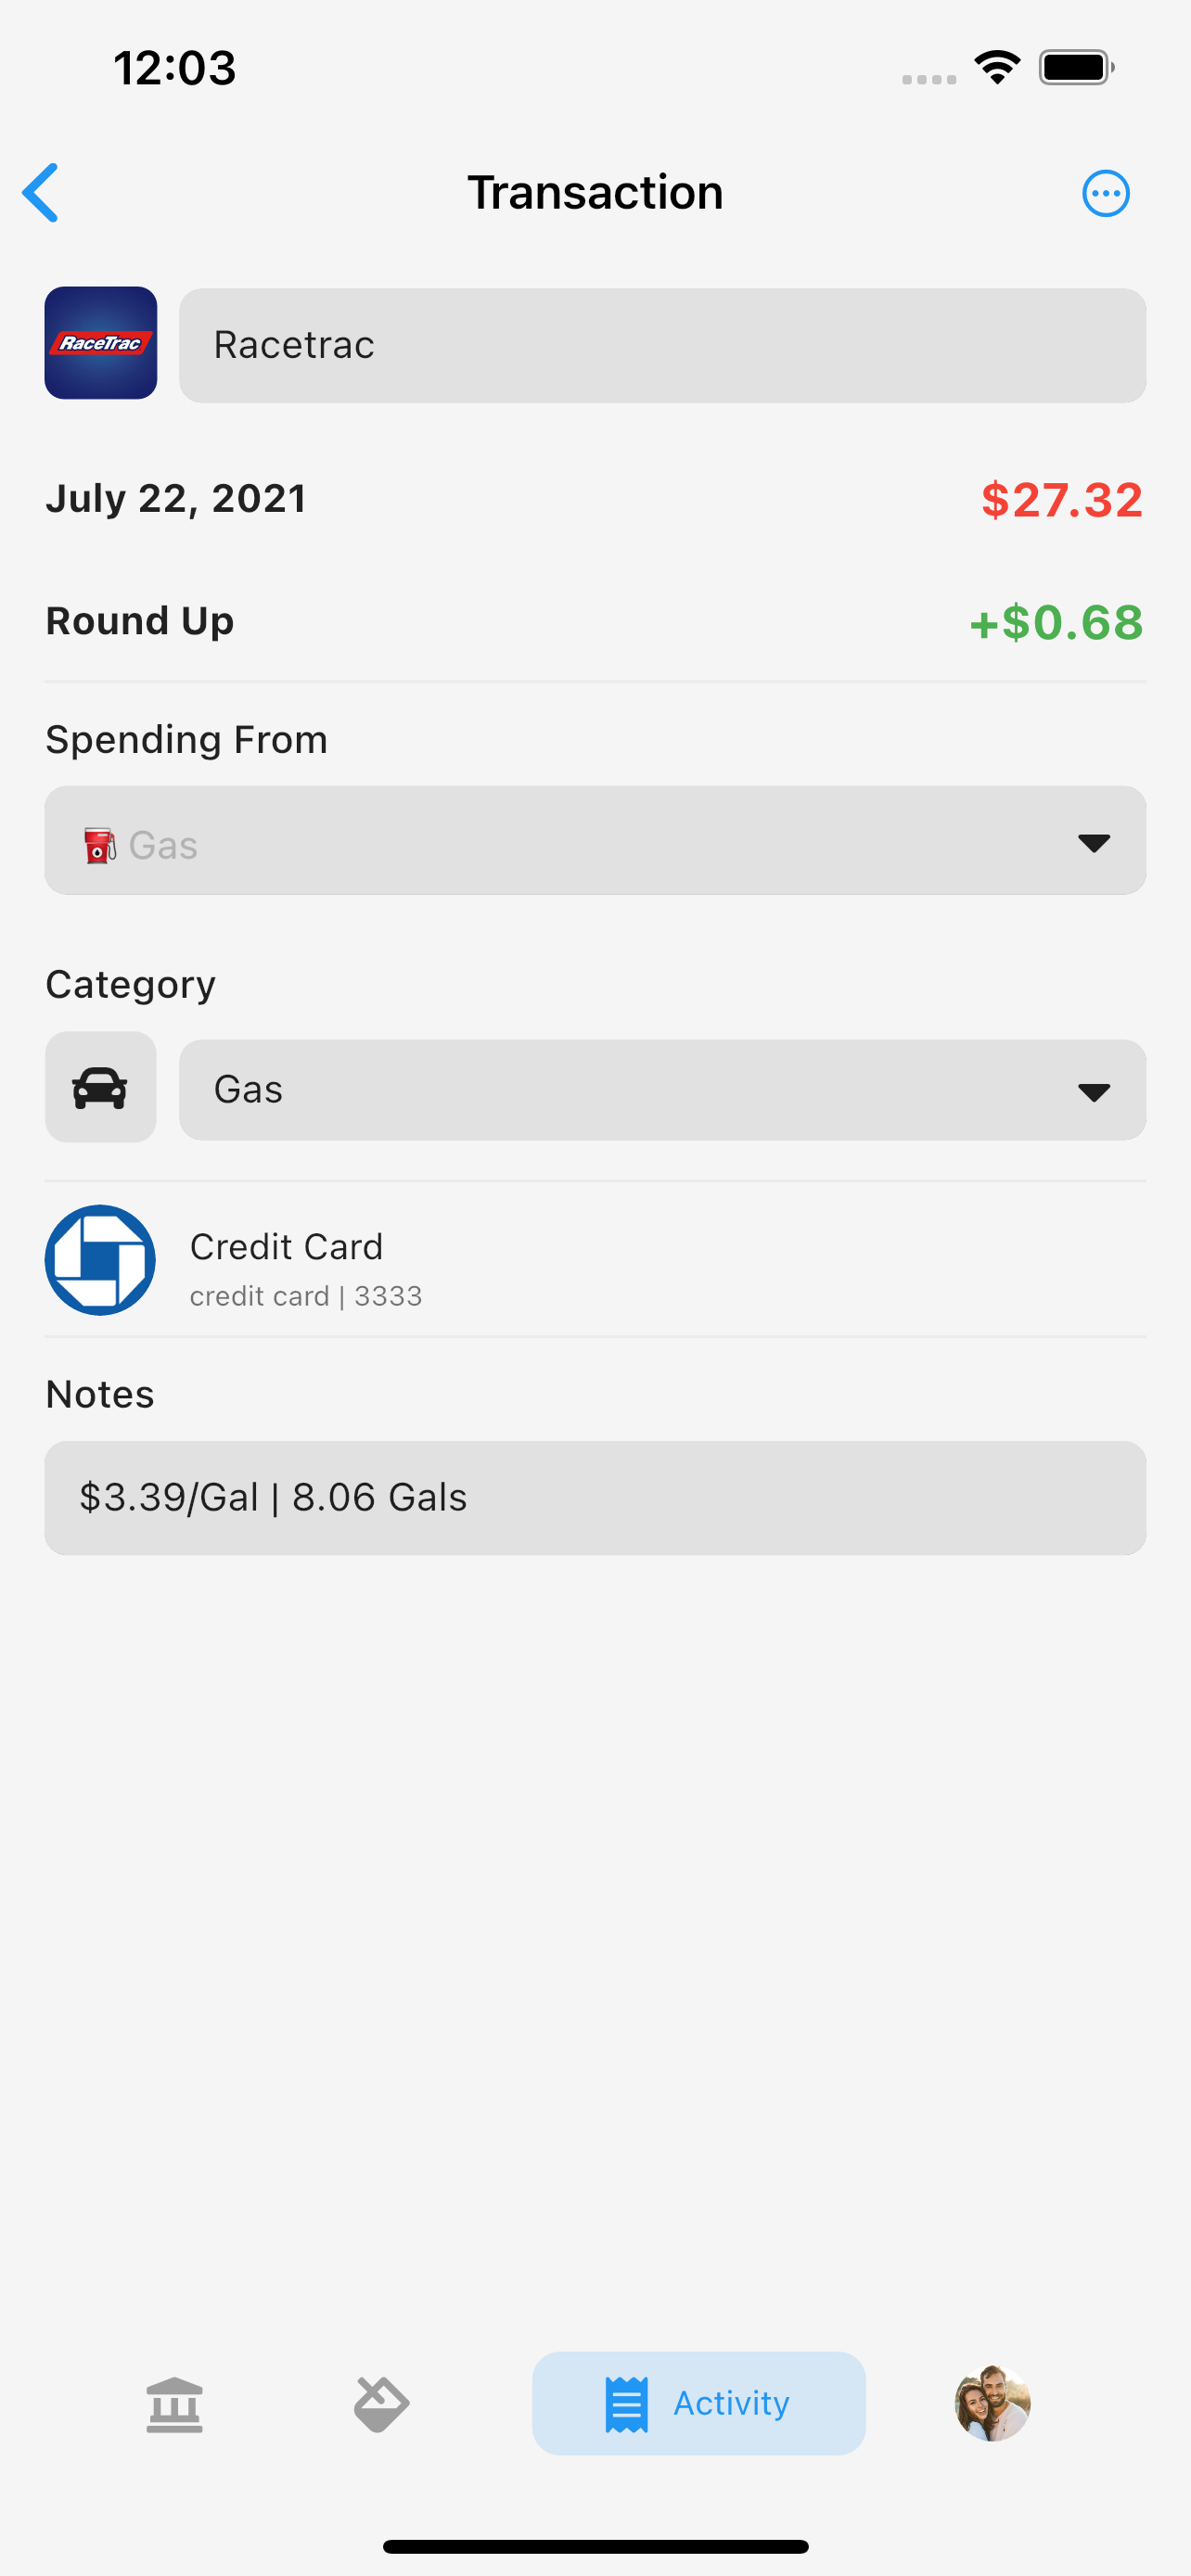
When you create an expense, you can define:
- Name. What the expense is.
- Group. Where it lives, such as Housing, Bills & Utilities, or Entertainment. If the group you want doesn’t exist yet, create it on the spot with the Add (+) button in the top right of the “Choose a group” screen.
- Balances. - Current is what you want in the bucket right now. You need a funding source connected before you can enter a current balance. This is useful when your funding just happened and the expense is coming up soon. - Target is the amount you expect the expense to be. If you’re not sure, aim a little high so the bucket stays fully funded.
- Schedule. - Due date is when the expense is due. Like the funding schedule, you pick the next due date and choose from recurring options. - Funding is which source pays this expense. - Spending is how Beacon matches transactions. Choose Merchant if you spend this bucket in the same few places. Choose Category if you’re not sure where you’ll spend it but you know what it’s for.
- Options. - Partial spending lets a bucket drop to $0 when a transaction is larger than its balance, with the rest coming from Free-to-Spend. Turn it off and Beacon won’t auto-spend when a transaction is bigger than what’s in the bucket. - Contribution sets how the bucket fills. Fill up to the target balance when you know the exact amount, or set aside a target amount when the expense varies over time. - Status. Active or Paused. - Bucket type. Expense, goal, or vault. Tap the dropdown for details on each.
Create a goal or vault
Goals and vaults are created the same way as an expense, with one difference in where the money lives.
- Goals are funded and spent from checking accounts. They’re best for short to mid-term targets, like a $600 flight in a few months.
- Vaults can only be funded from a savings account, and you can’t spend directly from a vault. They suit mid to long-term saving, like an emergency fund.
Build out your budget
How much you budget is up to you. Some people protect every dollar. Some only bucket the few bills that can wreck a month and leave the rest alone. Beacon works either way.
If you want to keep it light, earmark the known recurring bills, the ones that would blow up a month if you forgot them, and spend everything else from Free-to-Spend. If you’d rather account for it all, keep adding expenses, goals, and vaults until you’ve captured everything, including the non-recurring surprises like car repairs or a house down payment. A goal or vault is how you soften those.
As you add expenses and goals, your Free-to-Spend number adjusts. Whatever you choose to bucket, keeping your transactions categorized correctly is what keeps that number trustworthy.
Once it reflects the way you actually budget, you’ll have a clear picture and real confidence in what you’re Free-to-Spend.